Easy Instructions on How to Use Gimp on Mac
Thanks to GIMP, or the ThousandNU Image Manipulation Program, it's never been easier and more affordable to create epic looking thumbnails and high-quality logos. GIMP is a costless to apply, open-source respond to image editors looking for an Adobe Photoshop culling. It'south also quite beginner friendly and has a thriving community filled with tips and tricks to help produce the alterations and revisions that your image requires.
GIMP provides plenty of tools and resources to have whatsoever paradigm and add your own professional affect. Those in web design, graphic artists, and amateur photographers will observe that GIMP is a slap-up program that can hands accommodate their image enhancing needs. The aforementioned can also be said for those just starting out in image manipulation fields.
For beginners, especially when it comes to dealing with new interfaces, your risk into using GIMP tin seem daunting. When the edits you want are minimal, something along the lines of cropping or resizing an image shouldn't require that yous jump through hoops. Past taking the fourth dimension to learn the foundations and where to look for specific things, information technology won't take long to realize why GIMP is a great investment.

Once we've downloaded and installed the GIMP programme, we'll look into basic editing, while helping navigating the interface, and walk you through how to create a thumbnail like the one used for this article. We'll also provide a few resources y'all can utilise to notice avant-garde aid for future GIMP projects.
Download and Install GIMP
- Navigate to the developer's website and select your download. The file will begin downloading. Allow a few seconds to pass until attempting to install.
- Run the recently downloaded file. In one case the installer opens, click the Install button to have gimp installed to the default folder.
- To change installation settings and add together-ons, click Customize instead.
- Follow all installation instructions as they're presented. It may have several minutes for GIMP to be fully installed.
- Later installation is complete, you lot can begin using GIMP.
Using GIMP: Learning The Nuts

Begin the steps beneath by having GIMP launched and pulled up to a blank sail window. We'll employ the same image throughout each department.
Image Scaling/Resizing
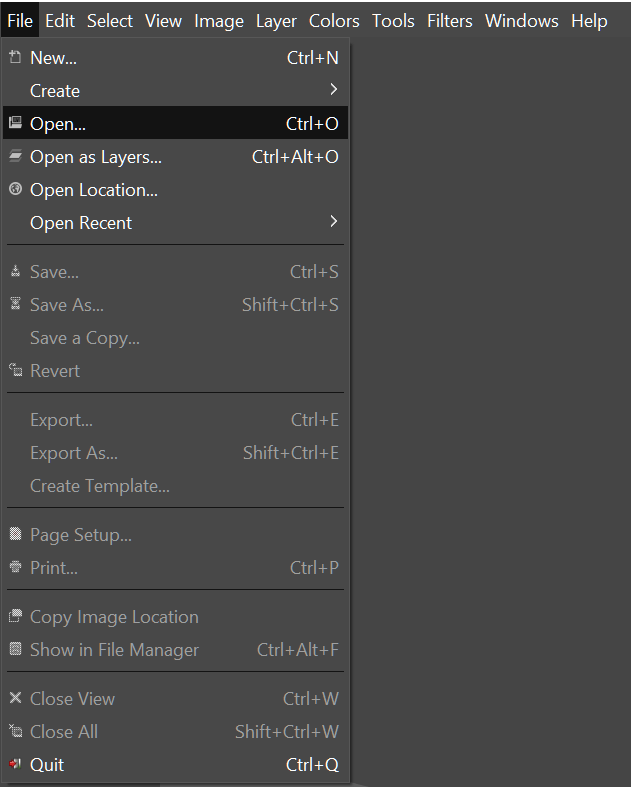
- Click the "File" tab and import your image by selecting Open… (CTRL + O)
- Subsequently the paradigm loads in, click the "Image" tab and select Scale Paradigm from the drib-down bill of fare.
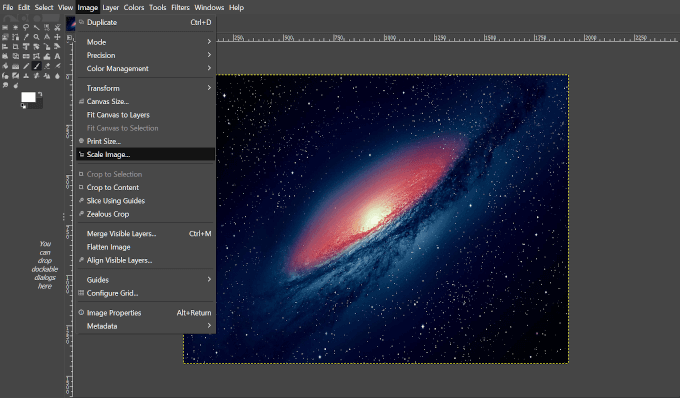
- A dialog box will appear to enable edits.
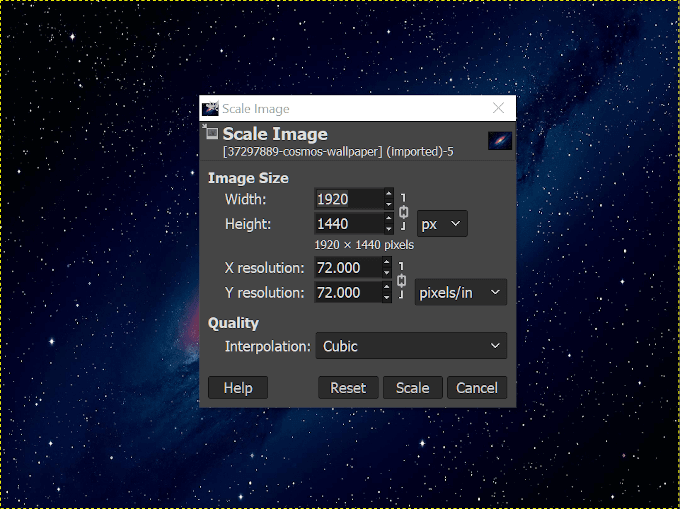
- Scale/Resize your image using the options provided.
- Conform the paradigm by width and height or the X, Y resolution.
- Modifications can be fabricated by pixels, per centum, centimeters, etc.
- Understand that making the image larger can effect in a more than pixelated epitome.
- Once parameters take been adjusted, click Scale to proceed.
File Size Reduction
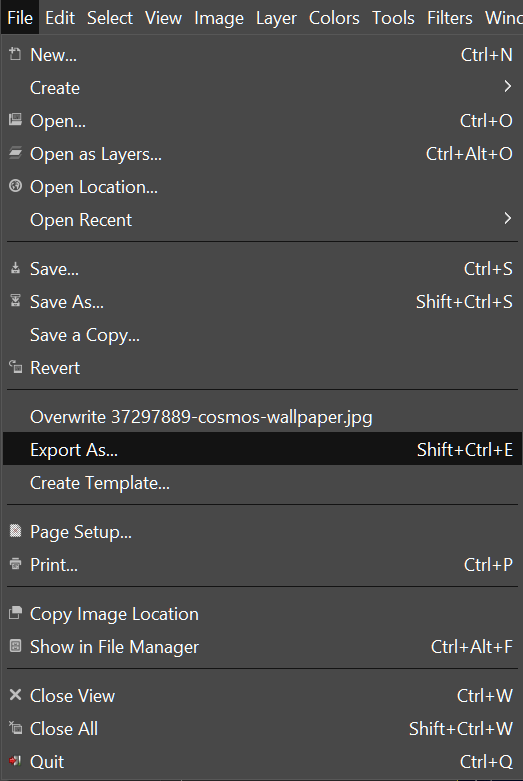
- Click the "File" tab and select Consign As… (Shift + CTRL + E)
- Choose a name and location for where you lot'd similar to salvage the file.
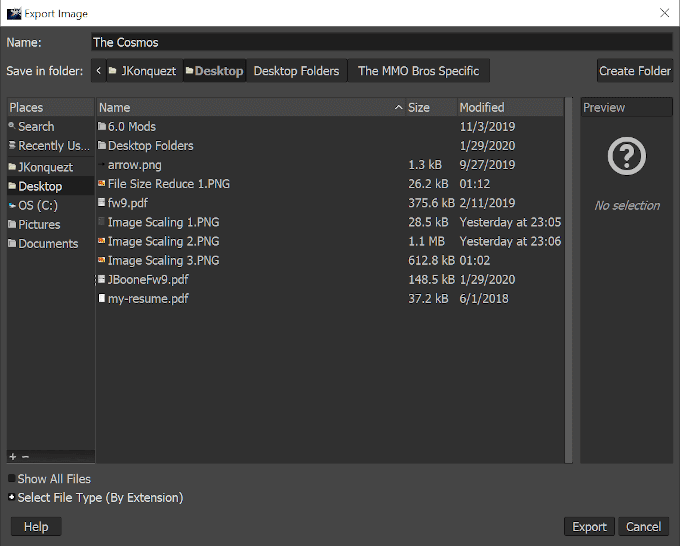
- Click the '+' next to Select File Blazon (Past Extension) to open up a listing of file types to salve it as. A lossy file blazon such as jpg or png is preferred.

- Side by side, click the Export button to take a new window of options popular-up.
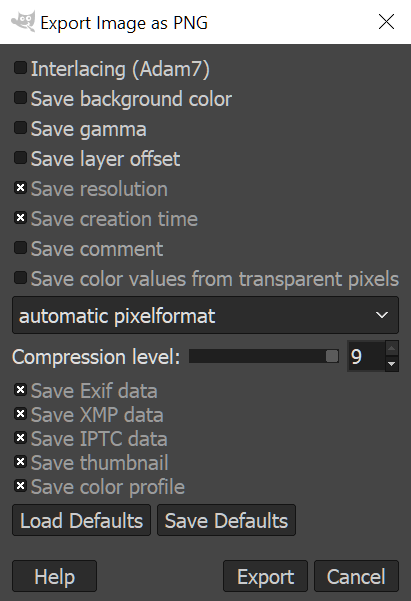
- The less things saved, the smaller the size of the image file.
- Ensure that the Compression level is gear up to 'nine' for the smallest size.
- Once you've decided which elements of the image yous'd like saved, click Consign.
Image Cropping
- Navigate to the "Tools" tab and select Transform Tools > Crop (Shift + C)
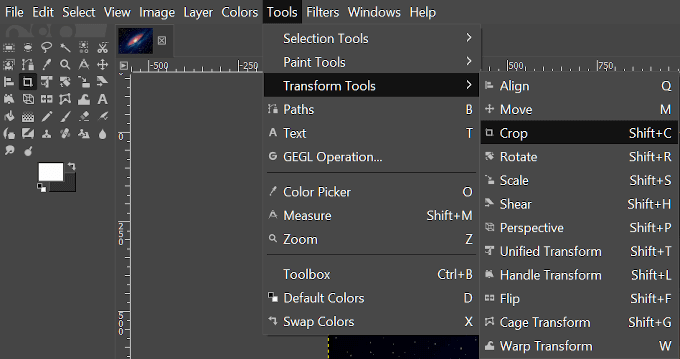
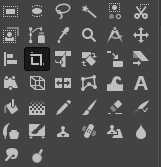
- Y'all tin also select the Crop Tool by clicking on its icon in the Tool Medico near the pinnacle-left of the interface.
- Next, property downwardly the left-mouse button, elevate your cursor across the area you desire to brand as your concluding image.
- Once settled, all parts of the image outside of the part yous selected, volition darken while the part set every bit your final image will remain intact.
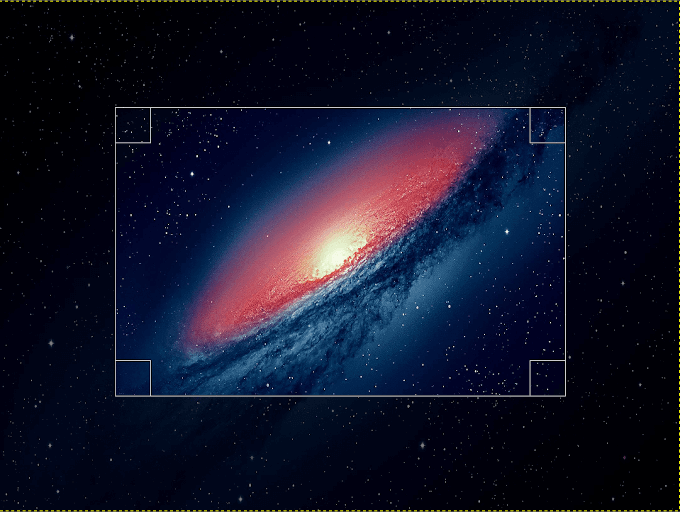
- Y'all can accommodate the area using the corners of the box by either shrinking or expanding them by dragging your mouse push button.
- Once yous have the epitome as you'd like it, either left-click information technology, printing Enter, or press Shift + C simultaneously to crop to your selection.
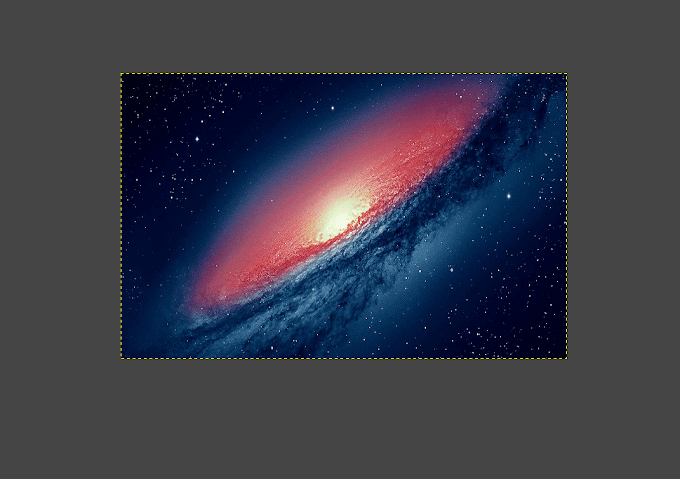
Image Rotation
For this modification, we're going to import some other epitome to layer atop our current image.
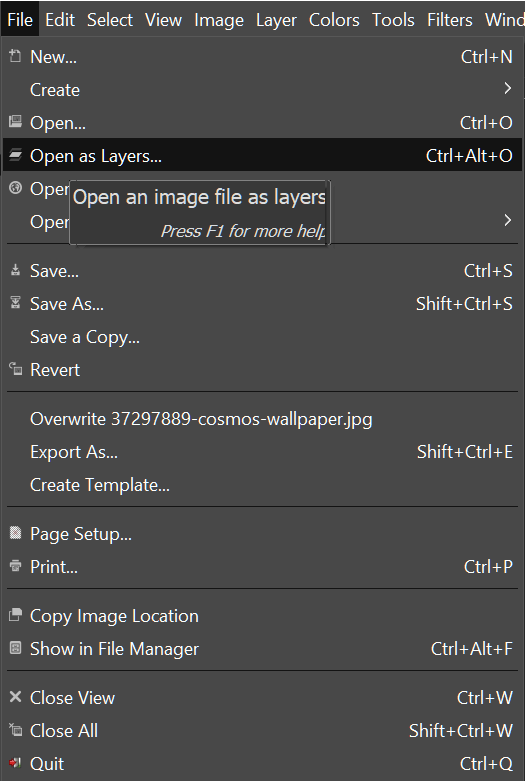
- In the "File" tab, select Open up Every bit Layers… (CTRL + ALT + O)
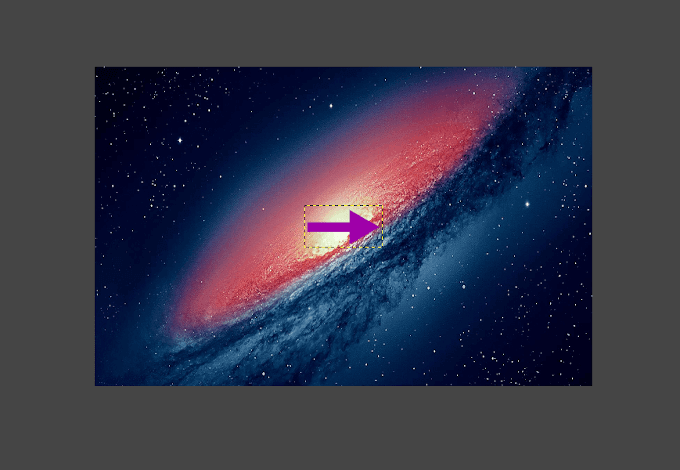
- Select the layer you'd like to add to the image, in this instance we'll be using an pointer, and click Open.
- You lot'll see the new layer placed on top of the current image. To run into how the layers are stacked, the layer window is located on the right.
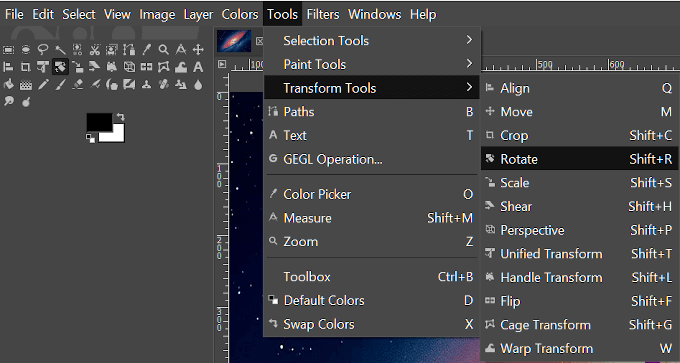
- With the new layer highlighted, head dorsum into Transform Tools and choose Rotate. You can too find the Rotate Tool icon in the Tool Doc.
- This will pull upwardly a new pop-up window while applying a reticle-like texture to your image.
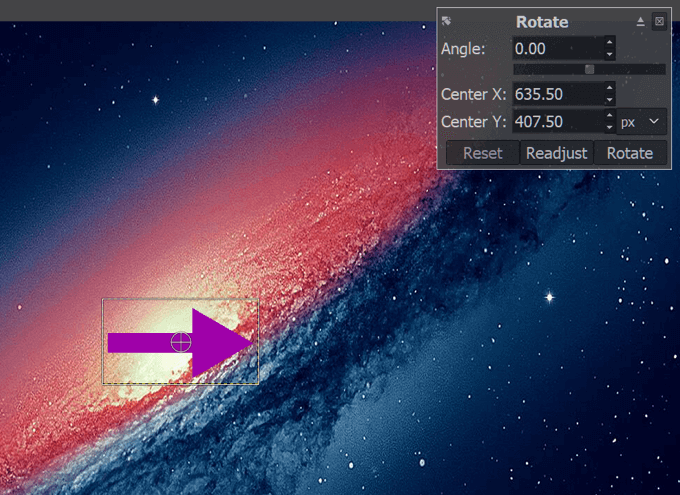
- If y'all know the angle of rotation you desire to use, you tin can enter the values into the provided boxes. If not, y'all tin can choose to use the slide bar just beneath the box labeled 'Angle' or rotate the epitome yourself using your mouse's left-click and drag.
- Using the exact values provides more than precise results, quicker.
- Once the results are to your liking, click Rotate.
Designing a Thumbnail
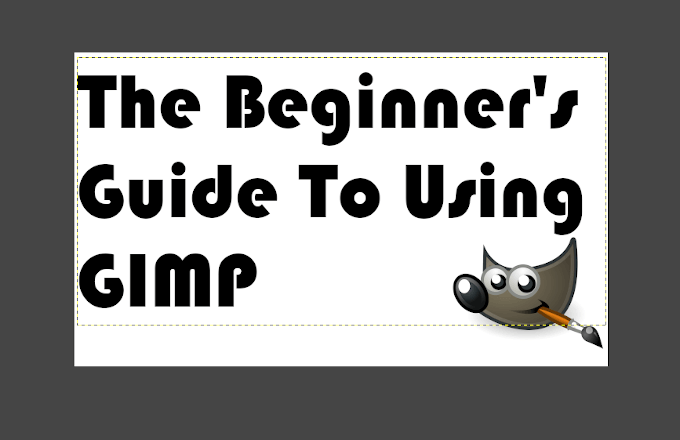
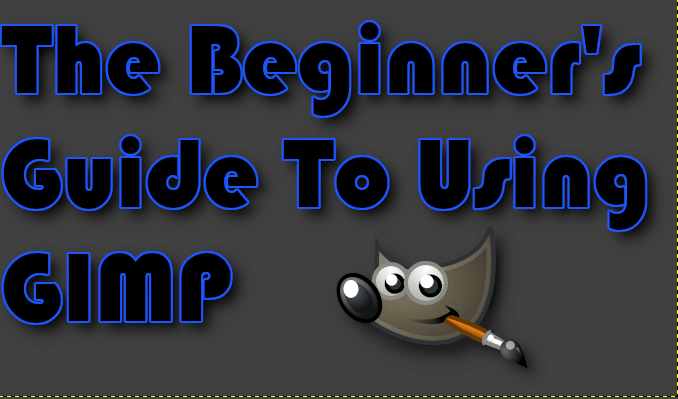
In this department, we're going to testify you lot how we created the thumbnail for this article using GIMP. Portions of this tutorial volition apply some of the tools used in Learning the Basics.
Earlier nosotros begin, information technology's best to gather up any images y'all may demand. Because the thumbnail has been kept elementary, the only image layer it will require is the GIMP logo, acquired via Wikipedia.
Once downloaded and saved to your estimator, we can get started.
- Open the "File" tab and select New… (CTRL + N)
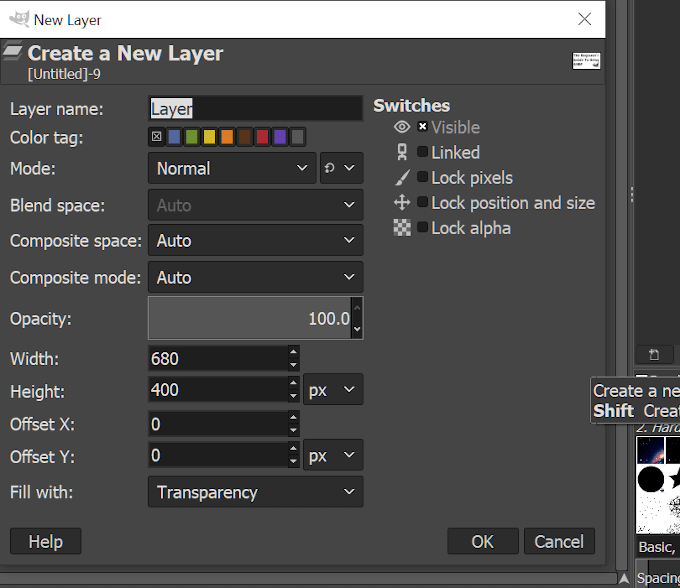
- This volition pull upward a "Create a New Image" window where you lot tin can select from a pre-created Template or decide on the size of the image manually.
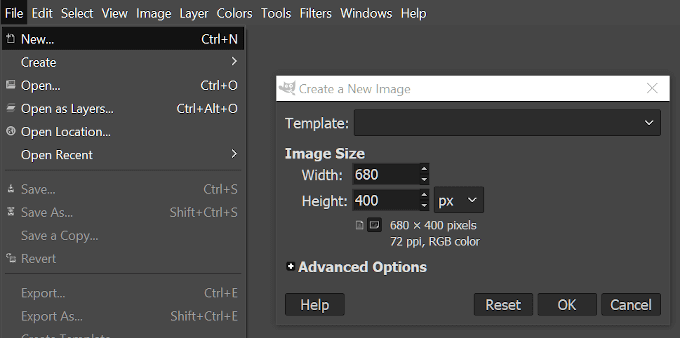
- Our thumbnails are never any larger than 680px width, so we'll set our paradigm size equally such. As for the height, we'll keep it at 400px.
- Once the dimensions are ready, click OK.
- We should now be looking at a blank (white) sail. You tin choose to color the background however you similar using the Bucket Fill Tool in the Tool Dr., merely for now, nosotros'll keep it white.
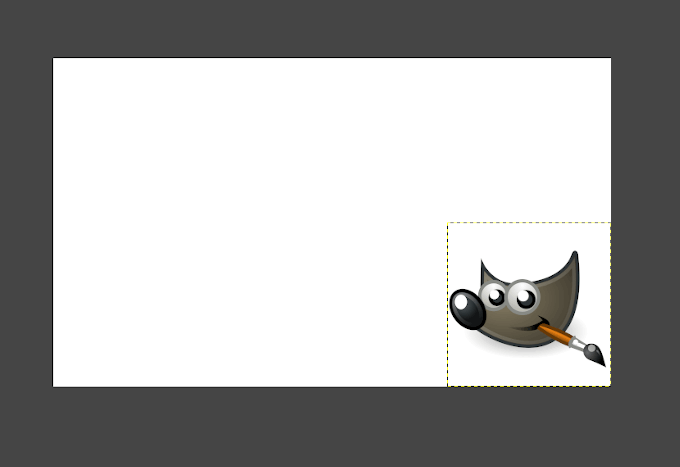
- The best matter to do is add your additional layer at present, that way once we begin calculation the text, we'll be able to adapt it so that information technology doesn't cake out the image. So, open up the "File" tab and this time select Open As Layers… just every bit we did for the pointer during Epitome Rotation. Select the GIMP logo you lot downloaded before and click Open.
- The layer epitome is a 1200 10 1200 which is much too large for our primary image at 680 10 400. We'll need to calibration it down. If you follow the instructions illustrated above, adjust the image width and top to 200px.
- We can then drag the epitome off to the side then that it's out of the way for our text until nosotros need to reposition information technology.
- Side by side comes the text. Nosotros'll apply the shortcut command and hit the 'T' key on your keyboard to have the Text Tool selected. Now, left-click in the overnice white surface area of the image and begin typing your title.
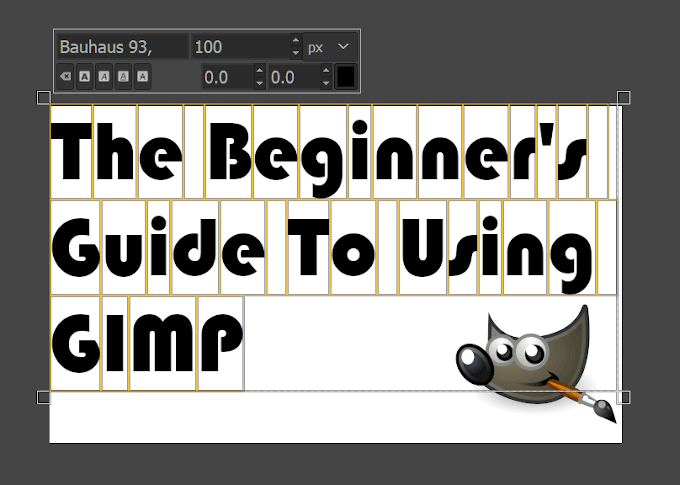
- Once information technology's all typed out, highlight the text (CTRL + A) and select the font you'd similar to utilize. We used the Bauhaus 93 font, which isn't a standard font. GIMP will take all fonts located in the Windows Font folder and add them to its library of choices. You lot tin can add additional fonts by downloading them from sites like DaFont and Google Fonts and moving them over to the Windows Font folder.
- Adjacent, adjust the size of the lettering and then that it fits well within the image but doesn't take up also much room. We settled on 100px.
- Once the text adjustments accept been fabricated, you can move the text box around to fit where y'all need it past swapping to the Movement Tool. You tin do this easily by clicking on an area of the image that isn't the text and clicking 'M'.
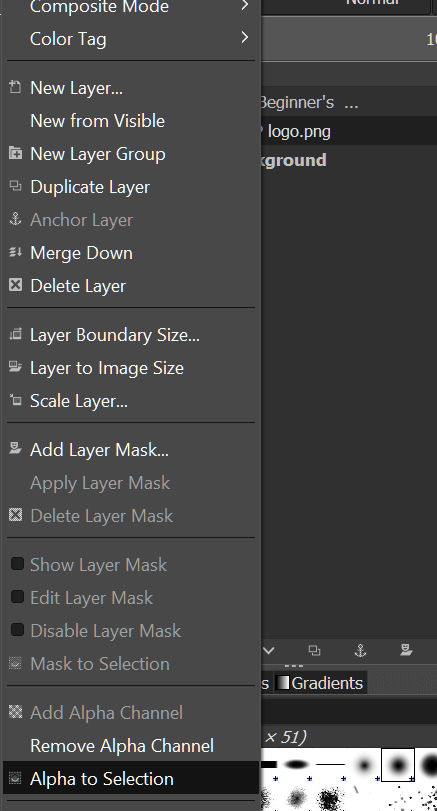
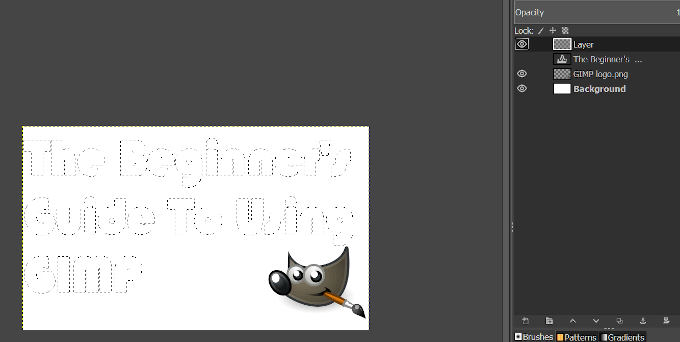
- Select the text layer in the window to the correct, right-click it, and from the list select Blastoff to Selection. This will add an animated border to the text in the image.
- Next, nosotros're going to need to add an additional layer. To do this, in the aforementioned right side window, locate and click the Create a New Layer button. This will open up the window to create a new layer. Don't worry about nigh of what is on hither, that's for a more advanced tutorial. For at present, just ensure that the "Fill with:" section has Transparency in the drib-down and click OK.
- A new layer mirroring the text that y'all had applied Blastoff to Selection is created. It should be the selected layer by default. Nosotros're at present going to add a border around the text.
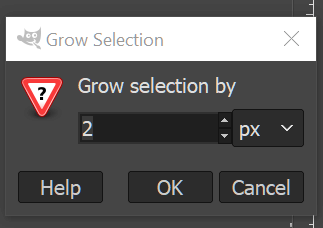
- Click the "Select" tab and choose Grow. In the selection box that pops up, gear up the value to 'ii' and click OK.
- At this betoken, to make it easier for you, click the Heart icon side by side to the original text layer in the layers window. The eye will disappear once clicked, and this volition hide the text'south visibility while you bucket fill up in the edge.
- Click Shift + B to select the Bucket Fill Tool then click on the master color square to open upward color options. You can select from a few default options or create your own. We settled on a shade of blue with the HTML notation of 1b56ff.
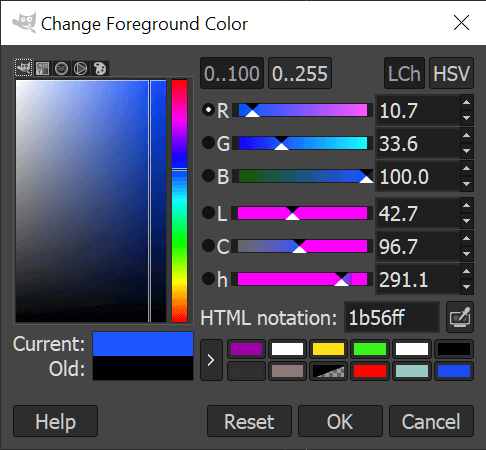
- If yous happen to know a little about CSS, y'all can apply the colour codes in that box.
- Drag your cursor over the invisible text surface area marked by the animated border, and left-click to make full it with color.
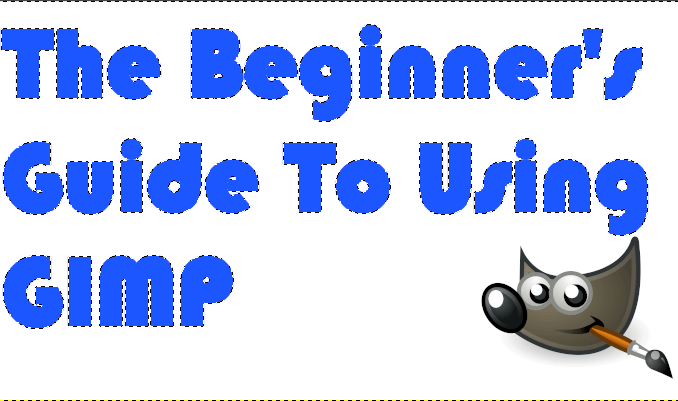
- Click the area where the Eye icon used to be to re-reveal the original text. Then, elevate the original text above the colored layer in the layer window.
- Right-click the summit about layer and select Merge Downward. The image should at present look like this:
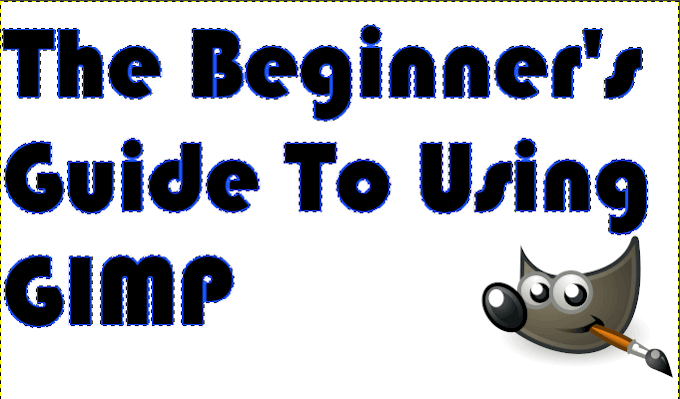
- Now we'll add a fleck of shadow to the text. Click the "Filters" tab, select Lite and Shadow > Drop Shadow (Legacy)…
- In the pop-upwardly window, select the x,y access of the shadow, the radius, and the opacity.
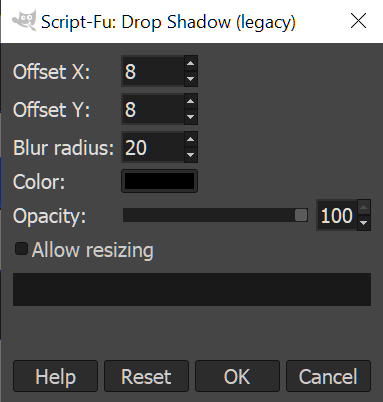
- For the thumbnail we selected 'viii' in both X and Y, '20' in blur radius, and cranked the opacity to '100'.
- You could change the color of the shadow to go far more visible on the properties, say for example if your groundwork was blackness it would be better to choose a brighter color. However, since our groundwork is white, black is perfectly fine.
- To avoid a shift in the prototype, uncheck the box marked Allow resizing before pressing OK.
- Merge Downwards the Drop Shadow layer on top of your text layer.
- "Select" tab > None (Shift + CTRL + A)
- Information technology's not necessary only we decided to add a shadow to the GIMP logo. If you choose to do then, the directions are the aforementioned. Other than that, select the GIMP logo layer and motility it into the position you want in the thumbnail.
- At the end, should you feel the white background to not exist adequate, you can highlight the Background layer, select the Saucepan Fill Tool, and proceed to add a bit of color. We've chosen a subtle gray then as non to drown out the shadowing. The finished product should look like this:
- Now, all that's needed is to Export Every bit and save information technology to your preferred location.
Using GIMP: Additional Help

It won't be long one time you start using GIMP before you lot'll feel like you've mastered the nuts and look toward more than complicated and professional fashion editing. At that place are endless tutorials out there to sink your teeth into that tin help with expanding your working knowledge of GIMP software.
You can begin in the official GIMP tutorials section but I prefer to search exactly what I'1000 looking for using YouTube.
GIMP also has a large user community spread across the net that includes a subreddit, unofficial discussion platforms like GIMP Forums and GIMP Chat, tagged questions in the Graphic Pattern section of StackExchange, and social media channels similar the Google Plus GIMP users group.
Do non share my Personal Data.
Source: https://www.online-tech-tips.com/software-reviews/the-beginners-guide-to-using-gimp/
Enviar um comentário for "Easy Instructions on How to Use Gimp on Mac"